
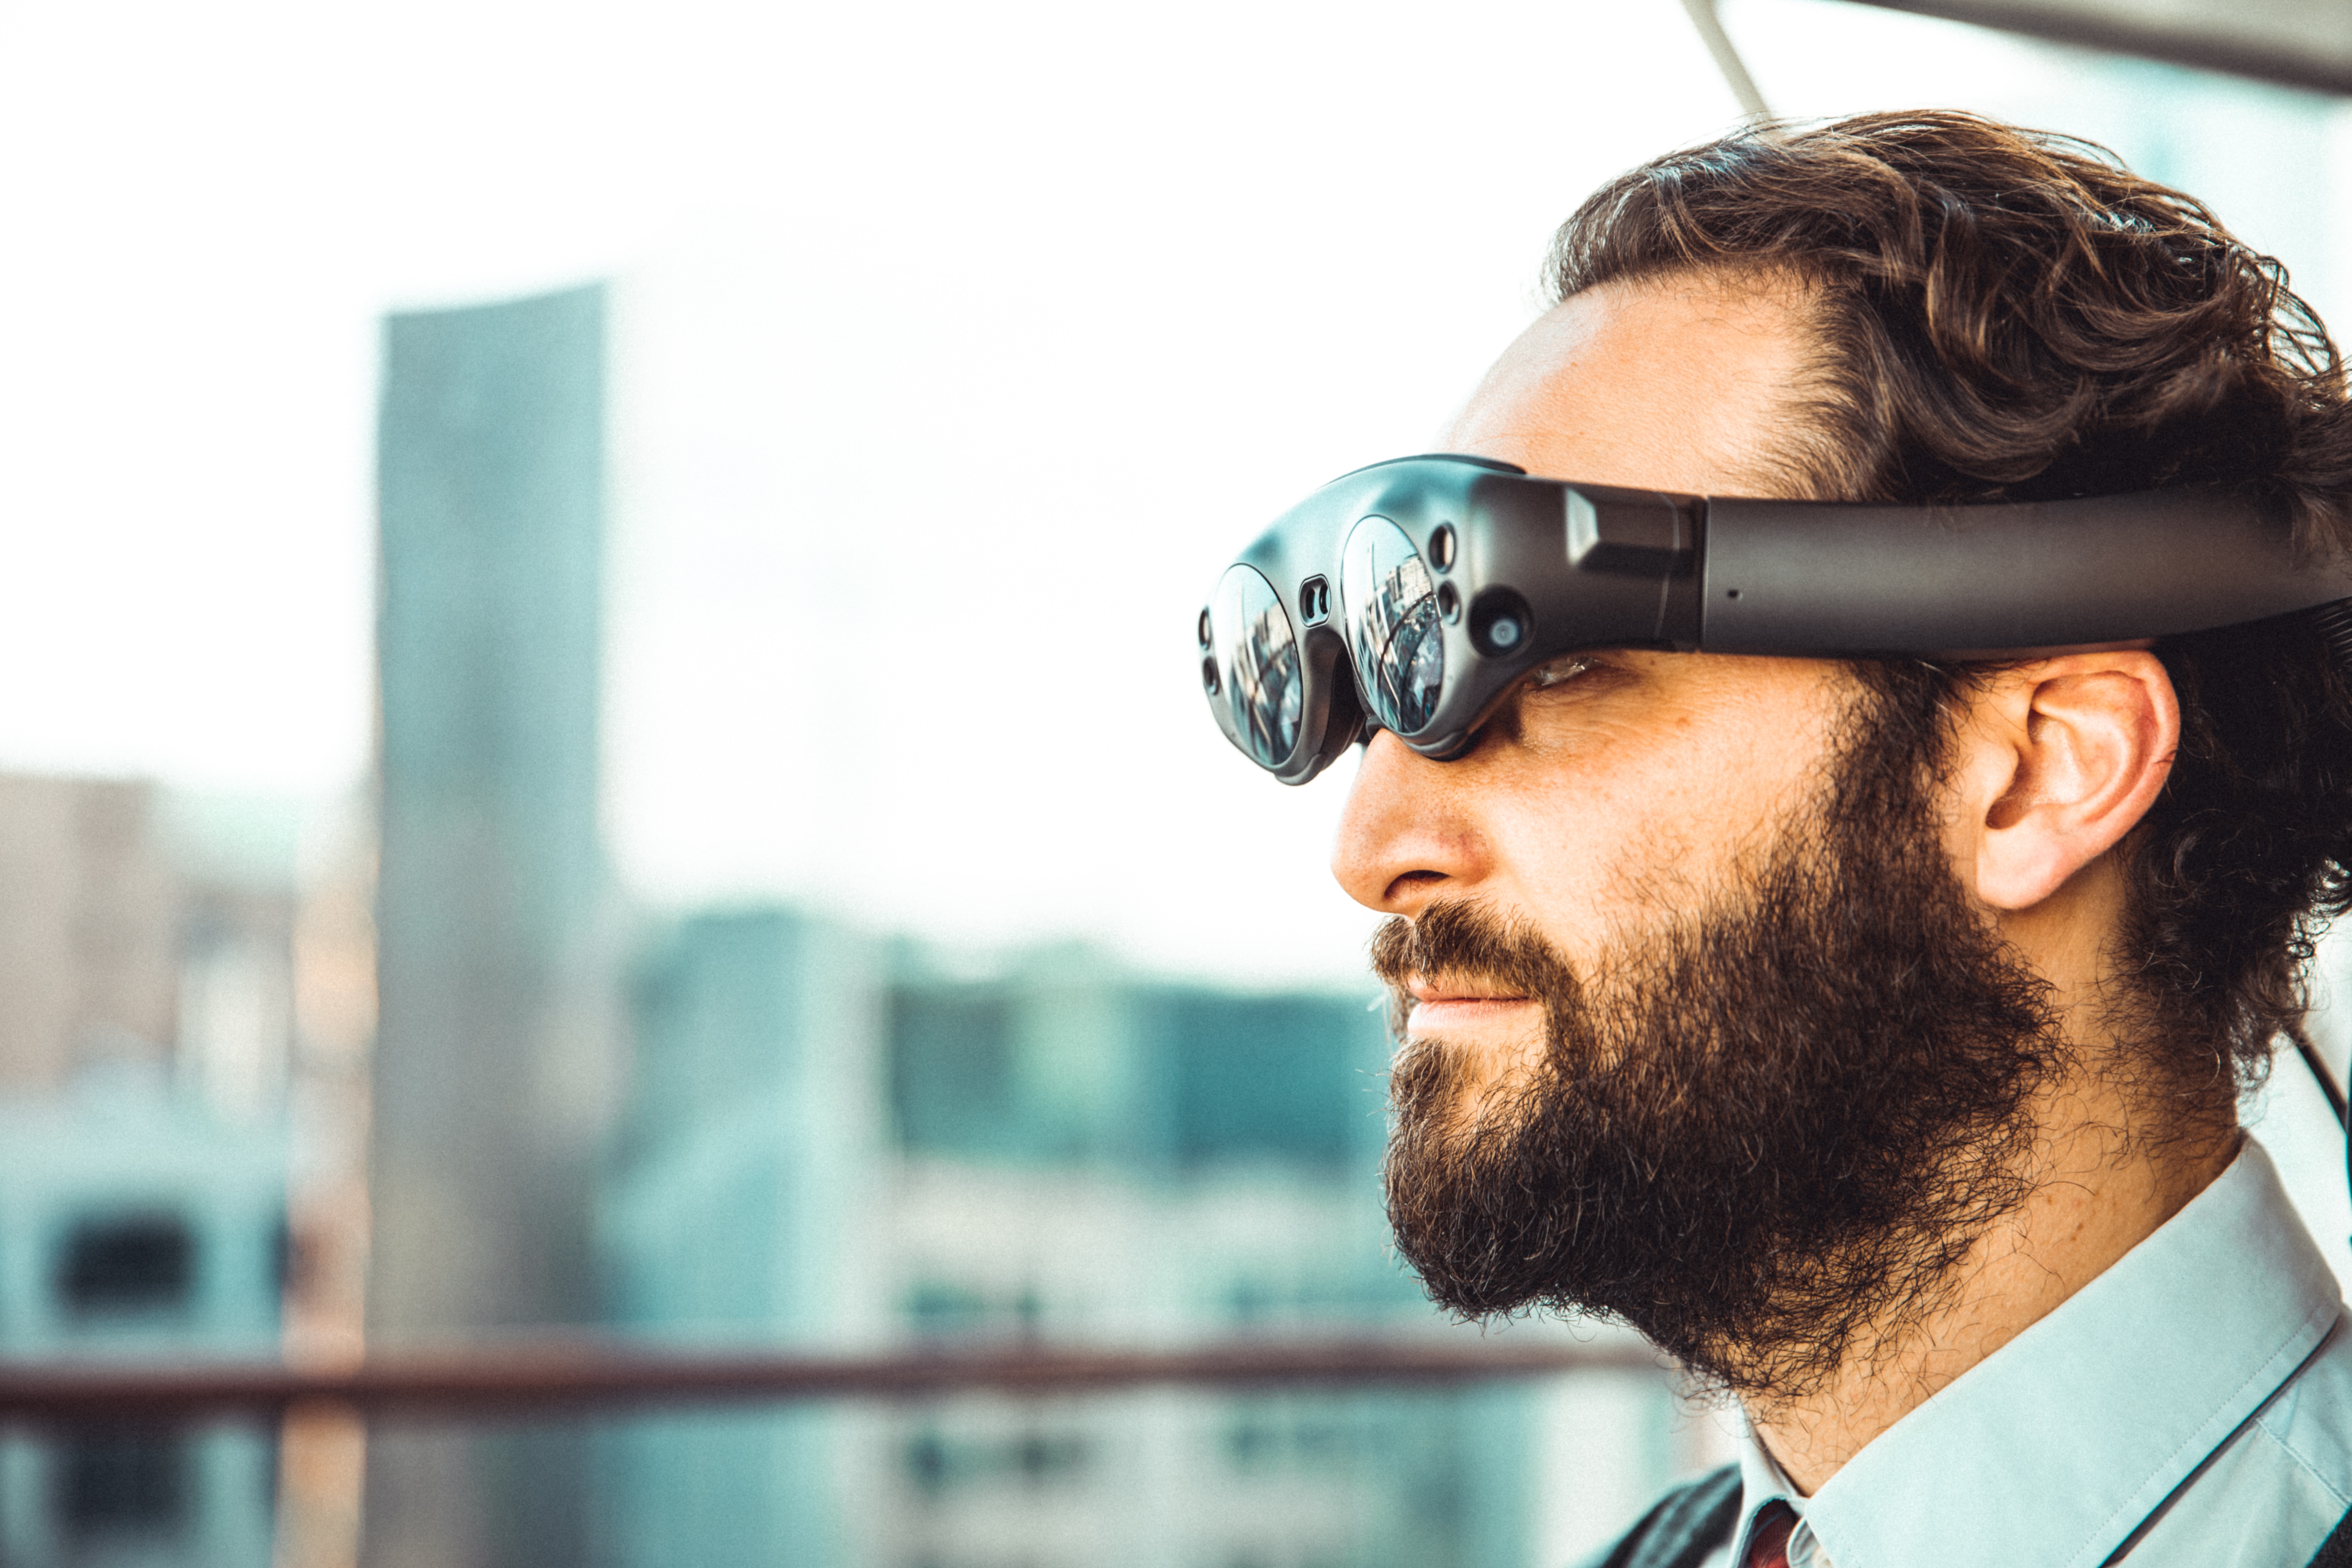
On June 5th, 2023, Apple shared exciting news at their event: developers can now practice making apps for their new device, the Vision Pro, using Apple’s main app-making tool called Xcode. Vision Pro is a powerful framework for building vision-based apps.
This lets developers test their apps in a 3D environment controlled with a keyboard or a game controller. It also creates new possibilities for security experts to make safer apps. Furthermore, designers can use Vision Pro to design immersive user-friendly interfaces.
To support the development of new apps, Apple plans to give some developers a chance to use the Vision Pro hardware ahead of time. They’re accepting applications for a developer’s kit, and they’re setting up labs in different parts of the world where developers can try the hardware.
All these steps are taken to make sure there are plenty of apps ready when Vision Pro hits the market. Whether you’re a seasoned app developer or a newbie, you can start preparing now for the upcoming launch of the visionOS SDK, a new toolkit for building Vision Pro apps. This article will help you understand app development using Vision Pro and the necessary techs you’ll need
Table of Contents
Understanding Apple Vision Pro
Apple’s Vision Pro is a cutting-edge mixed-reality headset with unique features. Here are some of them:
3D Layered Responsive Design
Vision Pro has a 3D interface that overlays digital images onto the real world, thanks to its LiDAR sensor and front cameras. This creates an immersive experience for gaming, work, or fun.
Vision OS
This new operating system is specially designed for the Vision Pro. It supports 3D user interfaces, a unique app store, and immersive environments.
‘Environments’ Interface
Users can switch to different virtual landscapes with a digital crown. This makes the experience customizable, ranging from semi-real to fully virtual.
High Pixel Display
The headset boasts two micro-OLED displays with high pixel density, offering a viewing experience superior to 4K TV. It can also wirelessly project Mac content.
‘Eyesight’
This feature shows users’ eyes to those outside the device, creating a sense of connection even in virtual environments.
Spatial Sound Technology
Thanks to its specialized “dual-driver audio pods,” users can experience surround sound-like audio.
Realistic Avatars
Advanced sensors and machine learning create lifelike digital avatars for users, adding depth to video calls.
Dual Dedicated Chips
The M2 and R1 chips work together for smooth operation, precise tracking, and real-time 3D mapping, reducing motion sickness or disorientation.
Optic ID
This feature unlocks the device and enables services like Apple Pay through iris recognition, ensuring privacy and security.
Why Use Vision Pro in App Development?
While we’ve talked about Vision Pro’s main features, let’s now consider how these could be beneficial when it comes to creating apps.
Text Recognition
Vision offers a feature to recognize multilingual text in images. This can be used in real-time or offline in your apps. All processing happens on the device, improving speed and privacy.
Vision’s text recognition works in two ways:
- Fast: Uses character detection and a small machine learning model, similar to traditional OCR, to recognize characters and words quickly.
- Accurate: Uses a neural network to find and analyze text in strings and lines, mimicking human reading.
Optional language correction using Natural Language Processing (NLP) can also be applied to both paths to minimize misreadings.
Object Detection
Using the Vision framework, you can identify objects in real-time. In systems like iOS 12, macOS 10.14, and tvOS 12, It uses a CNN trained on an extensive database of images. The objects are recognized in both real-world and virtual reality environments.
Image Recognition
Vision framework can spot and follow certain objects, like faces and rectangles, across a series of images. It can find a face in an image, track it across video frames, and then highlight the face and its features.
Dependency Injection
You can leverage this capability Vision Pro to separate system components and make them easier to test and maintain.
Service Discovery
You can also find and connect to various services easily if you need to add new services.
Load Balancing
Vision Pro shares traffic across several servers for better performance, scalability, and reliability.
Getting Started with Apple Vision Pro
Here’s how to go about developing apps with Apple’s Vision Pro.
Set Up Your Development Environment
Here are all the tools you need.
- Xcode
Xcode is the starting point for developing visionOS apps. It includes the visionOS SDK and simulator, and allows for app iterations and testing in various environments.
- Reality Composer Pro
This tool helps create and manage 3D content for your apps, fully integrating with Xcode for a smooth build process.
- Unity
You can use Unity to design new visionOS apps or adapt existing ones. It provides access to unique visionOS features, ensuring a cohesive look and feel across your app.
Let’s talk about Xcode.
How to Install Xcode
Source: Apple
✅ Xcode with visionOS
Xcode will have a simulator for visionOS. This lets developers start building apps for Apple Vision Pro. The visionOS SDK will be included in an update later on.
✅ Xcode on Windows
If you’re using a Windows computer, you may need additional software or a virtual machine to install Xcode. However, it’s not recommended for Chromebooks because of their hardware limits.
✅ Before installing Xcode
Make sure your macOS is up to date. You’ll need macOS 10.15.4 or later to install Xcode 12 or later. You can verify your macOS version by selecting ‘About This Mac’ from the Apple icon’s menu at the top left of your screen.
✅ Check if Xcode is present
Use the Applications directory or Spotlight Search to see if Xcode is already on your Mac. If it’s not there or if you have an older version, you’ll need to download it.
✅ Downloading Xcode
First, ensure you have sufficient hard drive space. Xcode 12.1 requires at least 11.3 GB, plus a bit more for buffer. You can download Xcode from the App Store.
✅ Finding Xcode in App Store
Locate Xcode in the App Store, either by going to the Develop section or by typing “Xcode” in the search bar.
✅ Starting Xcode download
Click the ‘GET’, ‘UPDATE’, or cloud icon (for reinstalling) to start downloading Xcode.
✅ Opening Xcode
Once downloaded, click ‘OPEN’ or find Xcode in the Applications directory or via Spotlight Search.
On first launch, you’ll need to install additional components that Xcode requires by clicking ‘Install’.
How to Create a New Project with Vision Pro Integration
Step 1: Initial Setup
To start building your app, choose an Xcode template suitable for your platform and app type, like single view or game for iOS. The templates have pre-set configurations to help you kick-start your app development.
Step 2: Configuration
Before creating the project, prepare the following details:
- Product Name: This is your app’s name, which will show on the App Store and on devices.
- Organization Identifier: This is a reverse DNS string that identifies your organization. If you don’t have one, use com.example., followed by your organization name.
- Organization Name: This name shows up in your project folder. It’s different from the organization name on the App Store.
Note: The organization identifier contributes to the bundle ID, which is crucial when you run your app on a device for the first time. Choose it wisely as changes can’t be made after uploading to App Store Connect.
Step 3: Create a Project
Launch Xcode and create a new project. Choose the target operating system, application template, and fill out the forms to configure your project.
Step 4: Manage Files
After creating or opening a project, the main window will display all necessary files and resources for your app. You can modify codes, set breakpoints, inspect file details, and manage your app’s run on either a simulated or real device from here.
For SwiftUI users, you can see an interactive interface preview. All changes made in the source file, canvas, or inspector are synced.
Step 5: Project Properties
You can change properties you entered during project creation by selecting the project name in the project navigator, which opens the project editor in the editor area.
Code Snippets and Examples of How to Use Vision Pro for Different Tasks
Implementing Image Recognition with Vision Pro
- Input Image
For still images, Vision uses a VNImageRequestHandler. Images must be upright, and formats such as CGImage, CIImage, CVPixelBuffer, NSData, and NSURL can be used.
- Vision Requests
To process an image, create a VNImageRequestHandler object. If you’re detecting multiple features (like faces and facial features), bundle all requests together.
let imageRequestHandler = VNImageRequestHandler(cgImage: image,
orientation: orientation,
options: [:])
- Performing Requests
After creating all requests, pass them to the request handler’s perform(_:) function. As this can be resource-intensive, use a background queue to avoid blocking the main queue.
- Result Interpretation
If perform(_:) succeeds, the results property will contain observation data like the location and bounding box of detected objects. You can access results through the results property or via the VNImageBasedRequest object’s completion handler.
DispatchQueue.main.async {
guard let drawLayer = self.pathLayer,
let results = request?.results as? [VNFaceObservation] else {
return
}
self.draw(faces: results, onImageWithBounds: drawLayer.bounds)
drawLayer.setNeedsDisplay()
}
- Detail Level
For detailed facial observations, use VNFaceObservation results, which give more information like VNFaceLandmarkRegion2D.
For text observations, you can locate individual characters by checking the characterBoxes property.
For barcode observations, the payloadStringValue property allows parsing of the content of detected barcodes.
Object Detection with Apple Vision Pro
- Setting Up Camera for Live Capture
To prepare for live capture, set up the camera and integrate a Core ML model with Vision. Configuring the camera requires an AVCaptureSession. Here’s the code to do that:
private let session = AVCaptureSession()
let videoDevice = AVCaptureDevice.DiscoverySession(deviceTypes: [.builtInWideAngleCamera], mediaType: .video, position: .back).devices.first
session.sessionPreset = .vga640x480
- Frame Processing
Post camera configuration, start processing each frame, making sure not to hold more than one Vision request at a time to avoid memory overflow:
videoDataOutput.alwaysDiscardsLateVideoFrames = true
videoDataOutput.videoSettings = [kCVPixelBufferPixelFormatTypeKey as String: Int(kCVPixelFormatType_420YpCbCr8BiPlanarFullRange)]
- Correct Device Orientation
Align the camera’s orientation with the device orientation for accurate object recognition with Vision:
let curDeviceOrientation = UIDevice.current.orientation
- Object Classification with Core ML
Use the Core ML model to specify labels for Vision’s object identifiers. The model defines the observations that Vision returns:
let visionModel = try VNCoreMLModel(for: MLModel(contentsOf: modelURL))
let objectRecognition = VNCoreMLRequest(model: visionModel, completionHandler: { (request, error) in … })
- Parsing Recognized Objects
The next step involves parsing object observations received from Vision to identify objects and their locations:
for observation in results where observation is VNRecognizedObjectObservation { … }
- Simplified Object Classification
The application simplifies object classification by only considering the top confident classification. However, you could expand it to show multiple or competing classifications.
- Introduction to Object Tracking
You can extend object recognition to object tracking using VNTrackObjectRequest.
Text Recognition Using Vision Framework
- Performing a Text-Recognition Request
The VNRecognizeTextRequest of the Vision Framework recognizes and extracts text from images. Here’s an example using VNImageRequestHandler:
let cgImage = UIImage(named: “snapshot”)?.cgImage
let requestHandler = VNImageRequestHandler(cgImage: cgImage)
let request = VNRecognizeTextRequest(completionHandler: recognizeTextHandler)
try requestHandler.perform([request])
Note: For fast processing, use VNRequestTextRecognitionLevel.fast.
- Processing Results
The VNRecognizeTextRequest returns VNRecognizedTextObservation objects, each with the recognized text string and confidence score:
func recognizeTextHandler(request: VNRequest, error: Error?) {
let observations = request.results as? [VNRecognizedTextObservation]
let recognizedStrings = observations.compactMap { $0.topCandidates(1).first?.string }
processResults(recognizedStrings)
}
- Displaying Bounding Rectangles
Bounding rectangles around recognized text can be displayed using the VNImageRectForNormalizedRect(_:_:_:) function:
let boundingRects: [CGRect] = observations.compactMap { observation in
let candidate = observation.topCandidates(1).first
let stringRange = candidate.string.startIndex..<candidate.string.endIndex
let boundingBox = candidate.boundingBox(for: stringRange)?.boundingBox ?? .zero
return VNImageRectForNormalizedRect(boundingBox, Int(image.size.width), Int(image.size.height))
}
- Optimizing Language Settings
The supported languages can be selected by the supportedRecognitionLanguages(for:revision:) method. To alter default English bias, provide an array of languages to the recognitionLanguages property. For domain-specific text, you can set the customWords property for the request.
Advanced Integrations for Vision Pro
A few advanced integrations for Vision include
- SwiftUI
- RealityKit
- ARKit
- Core ML integration
SwiftUI
SwiftUI is an efficient tool to build visionOS applications from scratch or adapt iOS/iPadOS apps for the platform. It offers 3D capabilities, gesture support, immersive scene types, and depth effects. It integrates with RealityKit for vivid, volumetric interfaces, and works well with UIKit for seamless visionOS app building.
RealityKit
RealityKit, Apple’s 3D rendering engine, enhances your apps with 3D content, animations, and special visual effects. It can adapt to real-world lighting conditions and perform functions like opening portals or creating spectacular effects. RealityKit uses MaterialX, an industry standard for developing surface and geometry shaders.
ARKit
ARKit allows Vision Pro apps to interact innovatively with their surroundings in Shared Space mode. On switching to Full Space mode with appropriate permissions, advanced ARKit APIs like Plane Estimation, Scene Reconstruction, Image Anchoring, World Tracking, and Skeletal Hand Tracking become accessible. This functionality lets your apps bring imaginative experiences to life, blending virtual elements with real-world environments.
Interactive Experiences and Privacy
ARKit is designed to enable the creation of interactive experiences while maintaining user privacy. This means your app can make 3D content that interacts with the real-world environment, like bouncing a virtual ball off the floor or splashing virtual paint on a wall.
Hand Tracking and Scene Geometry
Apple’s ARKit will also help you to utilize hand tracking and scene geometry in your apps. This enables even more engaging and immersive experiences for your users.
How to Combine Apple Vision Pro and Core ML for Advanced Machine Learning
Step 1: Understanding Machine Learning Tasks & Components
- Understand the components of a typical machine learning task. For instance, an image classifier consists of a feature extractor and a classifier.
- Components can be added, removed, or switched to create new tasks. For example, you could use different feature extractors or classifiers.
- Familiarize yourself with the two types of components: transformers and estimators. Transformers perform some transformation on the input, while estimators learn from data.
Step 2: Building a Custom Image Classifier
- Construct an image classifier using the ImageFeaturePrint as the feature extractor and the LogisticRegressionClassifier as the classifier.
- Ensure that when composing two components, the output of the first matches the input of the second.
- Use the fitting process to transform your composed estimator into a transformer.
- After training the model, use the write method to save the learned parameters for later use or app deployment.
Step 3: Creating a Custom Image Regressor
- Consider building an image regressor if you want to score or rate images. This process involves regression instead of classification.
- To create an image regressor, substitute the logistic regression classifier with a linear regressor in your existing image classifier.
- Load your training images and their respective scores.
- After training your regressor, save the trained parameters for later use or app deployment.
Step 4: Augmenting Your Dataset
- If the model’s error is high due to a lack of images, consider augmenting your dataset by rotating and scaling images to create more examples.
Step 5: Creating a Custom Transformer
- Write a method that conforms to the transformer protocol, which takes an image and returns an image. If there’s no salient object detected, return the original image.
- Your custom transformer should be added to your image regressor before feature extraction.
- Once saliency is part of your task definition, it will be used to crop every training image. The same will be applied when doing inference.
Step 6: Deploying Core ML Components
This approach provides optimized tensor operations but comes with certain limitations, such as unsupported operations and limited types. You need to export your transformer as a Core ML model, and in case of unsupported operations, this may throw an error.
Swift Package Deployment: If you want to deploy the task definition along with the trained parameters, bundling them in a Swift package might be a better option. This way, you can provide simple methods to load the parameters and perform a prediction.
How Much Does It Cost to Build an App for Apple Vision Pro
Time Estimate
For example, if you’re building Finance Manager Application for apple vision estimate, here’s an estimate of the time required for each component:
- Creating the Basic Layout: Setting up the initial project structure and basic user interface will take about 1 day.
- Adding New Transaction Feature: Building functionality to add new transactions will also take around 1 day.
- Categories Management: Implementing a feature to manage categories for transactions (like groceries, utilities, and entertainment) will require approximately 3 days.
- Transactions Calendar View: Developing a calendar view to display transactions by date is a complex task, and it’s estimated to take 8 days.
- Transactions List View: Building a feature that lists income, expenses, and total transactions will take around 5 days.
- Chart View: Designing and integrating a feature to visually represent transactions in a chart form will be the most time-consuming part, taking an estimated 10 days.
- Deploy to App Store and TestFlight: Finally, deploying the application to the App Store and TestFlight for beta testing should take about 1 day.
- In total, it’s expected that the whole project will take approximately a month to complete.
Cost Estimate
If you want to figure out how much a project might cost depending on where the team working on it is located.
First, we estimate that the project will take between 660 to 750 work hours to finish.
Then, we look at the average pay rate for developers in different parts of the world:
- North America: If your team is based here and charges about $150 per hour, the project’s total cost could land between $99,000 and $112,500.
- Asia: If your team is in Asia, where they typically charge around $40 per hour, the total cost may range from $26,400 to $30,000.
- Western Europe: Teams here often charge the same as those in North America, around $150 per hour. Hence, you could expect a total cost between $99,000 and $112,500.
- Eastern Europe: For teams in this region, they might charge an average of $90 per hour. This would lead to a total cost ranging from $59,400 to $67,500.
Conclusion
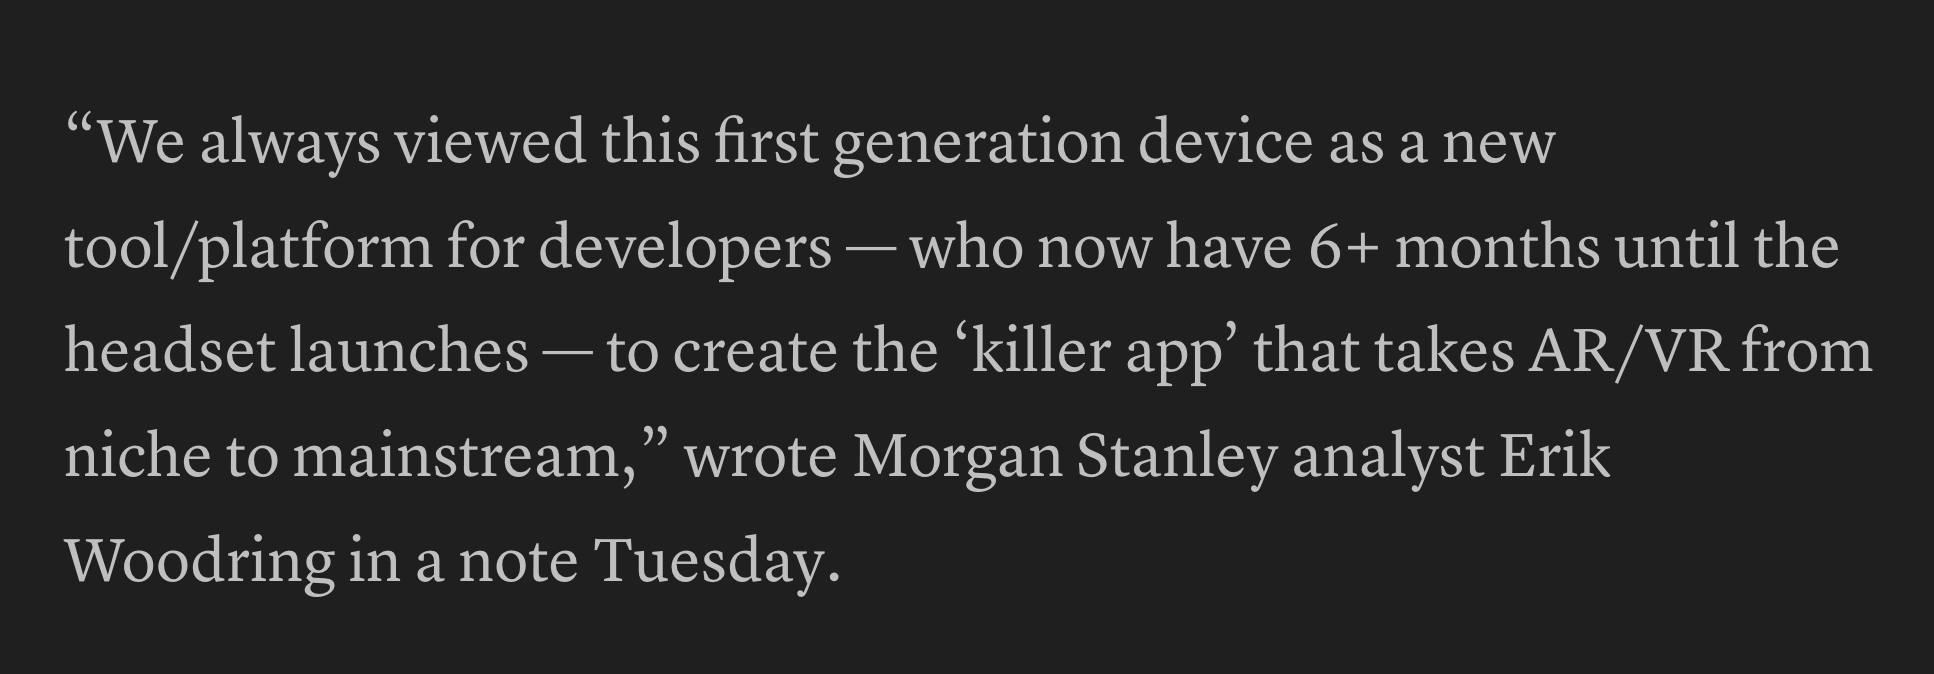
The Vision Pro AR/VR headset is a game-changer in the digital world, offering exciting opportunities for various sectors like manufacturing, logistics, healthcare, and more. Its features like object and text detection open endless possibilities for developers. With potential uses extending to fields like fitness, military, and even space, it’s a device to look out for when it releases next year.
If you’re looking for assistance in building vision-based apps, feel free to contact us.


No comments yet.
Give us your impression about this article.