
Code refactoring is a software development approach that entails altering and restructuring previously written software codes to make them easier to understand and easier to maintain but without compromising or adding to the code’s functionality. The major goal of code refactoring is to make the code more productive and manageable.
Code refactoring is critical for lowering technical costs because it is far preferable to clean up the code now rather than pay for costly errors in the future. The QA and debugging processes are greatly facilitated by code refactoring, which enhances legibility. While it cannot eliminate bugs, it can help prevent them in the future. If you want to know more about the benefits and common refactoring methods, please click here.
This article will outline a practical approach to refactoring legacy code in discrete pieces, each of which may be released and tested independently.
Table of Contents
How to Refactor The Legacy Code In Practical Steps
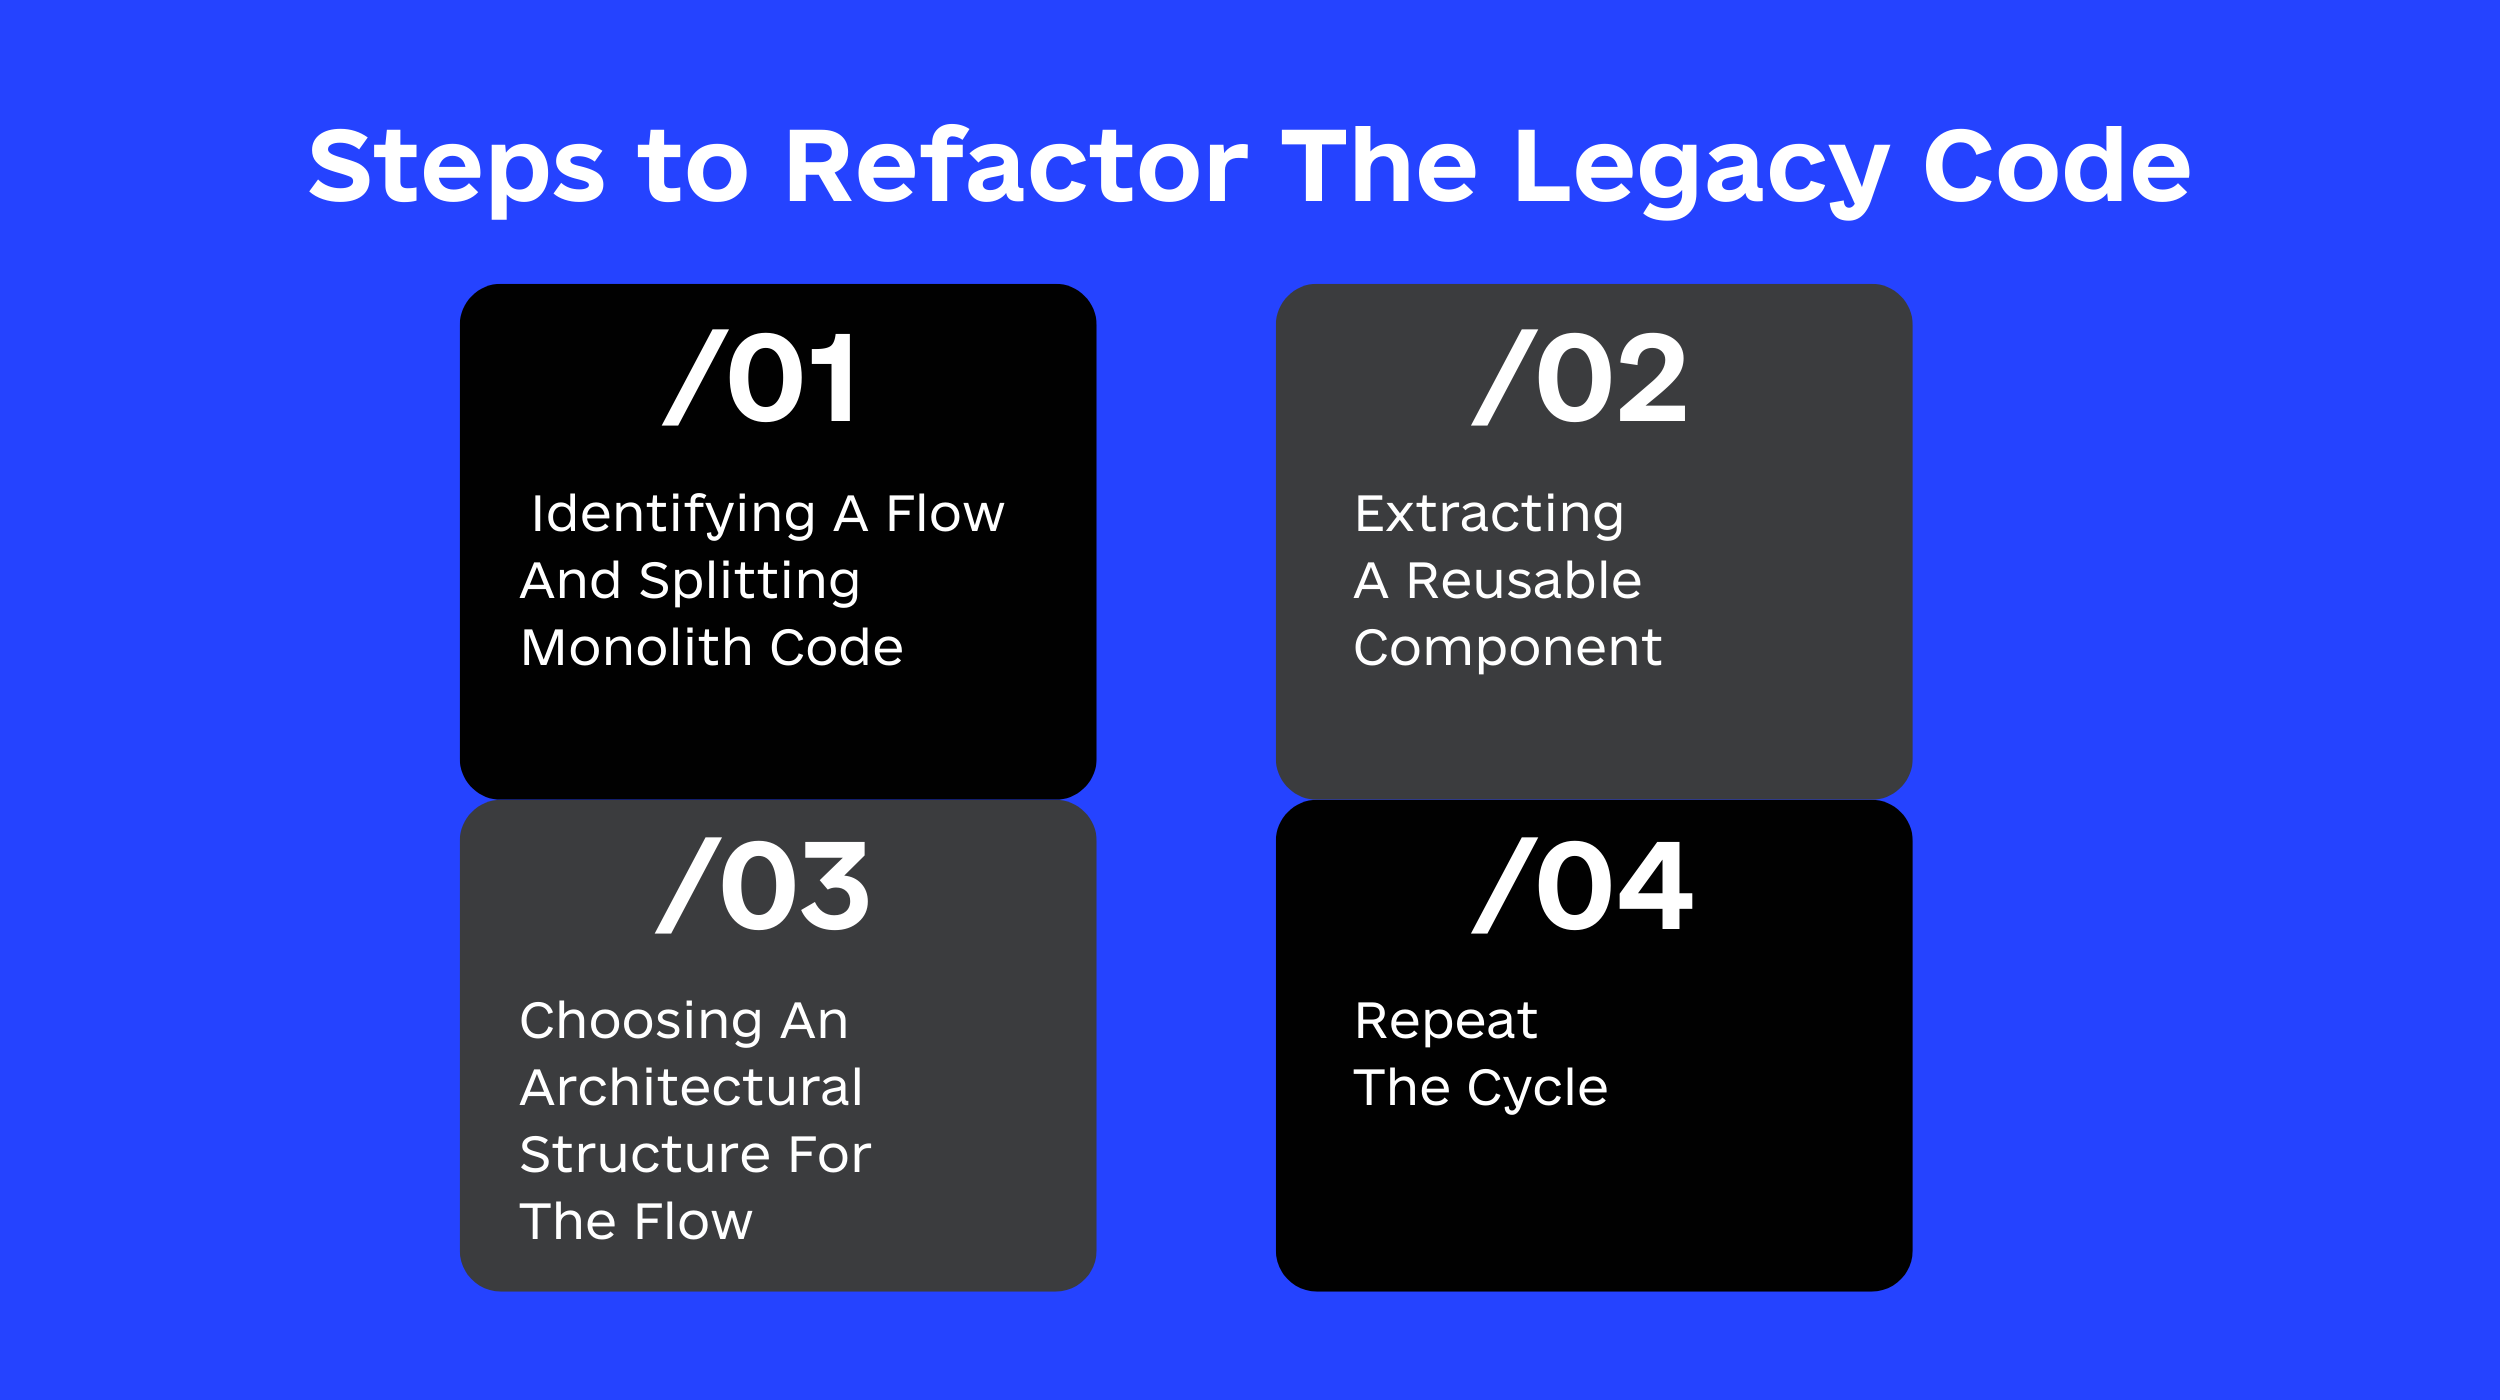
STEP 1: Identifying A Flow And Splitting Monolith Code
Refactoring an existing library or module can be a daunting undertaking as multiple processes and a legacy module may serve use cases. Scoping down for the first iteration is the first step in refactoring as legacy code frequently contains several flaws. Identifying the core problems is the first step in fixing its internal structure.
Anyone reworking PHP historical code and dealing with old-school fundamental capabilities, for example, should first determine how well-documented, operational, and scalable the PHP program is. When working with ancient code, performing a full application audit is critical because it gives the developer visibility into the incorrect flows and dependencies. Identifying a flow is making a list of the primary classes that make up the flow.
✅ Suppose the refactoring is for a messaging application, for example. In that case, important classes could include: the ‘view’ class, which displays messages, the ‘repository’ or similar class, which fetches or processes messages, etc. Identify the flow’s “monolith” classes and the flow’s “painful generic module.”
✅ Refactoring code effectively needs the developer to split monolithic code into specialized classes, edit the code, test it, and release the rework. Engineers’ favorite tool – ‘clip’ the code from the monolith class and ‘paste’ it into a new file – can be used to start the split process.
✅ Splitting code is a vital element of the refactoring process since it increases readability and allows the developer to focus on individual modules while learning the codebase in depth. They will be able to visualize their goal clearly and describe their next steps.
✅ Splitting a monolithic class can significantly increase readability and comprehension. Splitting allows one to become familiar with the overall monolith class’s codebase. The exercise will also reveal component interdependencies; assuming there is a capability to “like a product,” the “title of the product” should be colored differently based on that.
✅ The behavior of both the ‘title’ and ‘favorite’ view widgets is determined by the ‘favorite’ state in this example. The split class that follows the above criteria will act independently of other classes and on the dependencies supplied to it. The title text and if the product has been favorited will be displayed in the title widget.
STEP 2: Extracting A Reusable Component
The next step in the refactoring process is to extract each flow’s set of principles required for the program to perform properly and rewrite it in a more basic manner. This phase aims to extract the logic relevant to the flow discovered in step one. Then, primarily and cleanly, rewrite it; don’t forget to test-cover everything and publish this refactoring.
Many features of a legacy code aren’t truly universal, and showing relevant advertisements, implementing tracking, or applying filters, for example, may be limited to a single-use case. The problem with overly generic modules is that they are abused by adding logic during their development; this is only applicable to specific cases. Adding logic adds extra states, dependencies, actions, and conditions, making it difficult to read, maintain, and alter.
📌 For instance, businesses perform their daily operations according to business rules frequently applied to software systems. Business rules change over time, and the software that implements the changes to keep up with the changing business requirements. Unfortunately, timely revisions to software-related documents are frequently overlooked. The documents grow old and less valuable as time passes. Data identification and program slicing are methods for detecting and extracting business rules from legacy programs. As a result, one of the key goals is to extract a reusable component.
When determining code worthy of inclusion in a shared library/module, one applicable criterion is that at least three use cases require it. Another technique to determine whether a piece of code fits in a library or shared module is to ask whether it is reusable enough to open source. If it doesn’t, it probably contains some internal states and dependencies, which you may simplify.
This stage, however, does not compel developers to simplify a generic module because it can be too hard to know all of the use cases and check for side effects: assuming existing tests are not written effectively, which is a common scenario.
STEP 3: Choosing An Architectural Structure For The Flow
Choosing the correct software architecture is critical because it affects how the program performs the functions for which it was created. It also determines any obstacles you may encounter during implementation.
📌 Important monolith classes will be divided due to the previous two processes, and complex generic modules will be split according to the flow’s use case. By this point, the developer should understand the flow’s requirements, corner cases, and how the various components function together. The flow is meant to be simplified at this point, divided into targeted classes, and tested. Because these code components have also been released, you may be confident that your reworking so far has had no negative consequences.
Consider component interactions, the application’s scalability, and adaptability before deciding on a design. Layered, microservices, event-driven, and space-based designs are some of the architectures you can choose from. If you can’t decide, you can always mix and match different architectures.
The domain knowledge gathered in earlier exercises will provide sufficient insight into the optimal type of architecture for the project. In addition, the smaller focused components produced in the preceding exercise will come in helpful when implementing any architecture. Look for early opportunities to release, just like you did in the previous steps, so you can learn from any potential mistakes as soon as possible.
This step will necessitate rewriting a major chunk of code, which may entail restructuring classes into a separate module (or package), and modifying behavior to meet architectural requirements (e.g., denoting classes as Repository, Presenter, Controller, etc.). Tests may need to be rewritten, and however, if this step is completed now rather than after the previous two phases, it will take substantially less time. It is also less dangerous because developers are aware of all possible scenarios. At this point, the code is in a more manageable state for architecture.
STEP 4: Repeat The Cycle
In the case of a new flow, repeat the previous stages, and while repeating the process, developers tend to get enough confidence to comprehend all of the generic module’s use cases found in step three. Continuous iteration also provides an excellent opportunity to refactor and simplify them.
Legacy to Laravel: How to Migrate an Aging PHP App
It’s quite enticing to desire to tear down legacy apps and develop them anew from the ground up. However, if you have ever taken that bold step before, you certainly know it is a futile journey, especially when dealing with complex apps. But frankly, there is no need to go that route. And even when you successfully pull it off, you may have opened the floodgates to future risks. You do not have to go through this stress when you can adopt the following steps to modernize your aging PHP app. Below are simple steps to help you get what you want.
Step 1: Install a New Laravel App
In migrating an aging PHP application, the first step is to install a new Laravel app. And to achieve this, you need first to install a Laravel installer. Then, run the command below in your terminal to install a new Laravel app.
laravel new upgrade-to-laravel
Step 2: Move the New Laravel App Into the Legacy App
After installing the new Laravel app, move the contents of the new Laravel installation into your Legacy app before dropping your legacy app down one directory into a legacy folder. After that, proceed to implement Laravel to execute all incoming requests and divert any request without specified routes to the legacy app. Implementing this will ensure that the legacy app’s version control history is maintained.
Step 3: Testing the Home Page
Assuming there are no legacy testings on the ground and you feel certain everything has been checked out. Still, if the app depicts the possibility of things going south during the transforming phase, you can utilize Laravel’s inbuilt testing features to ensure the app’s functions continue to work.
For instance, let’s run a test on the homepage by running the following in the terminal.
“php artisan make:test HomePageTest”.
php artisan make:test HomePageTest
If you want to ascertain whether the homepage loads successfully, here is a test for that:
{
// the entry point to the legacy app
$response = $this->get(‘/’);// replace ‘welcome’ with a string on the home page
$response->assertStatus(200)
->assertSee(‘Welcome’);
}
If the test were successful, you would see a ‘passing test”; however, it is not uncommon for a simple test of this nature to fail after conversion.
Step 4: PHP Superglobals
If your old code uses superglobals like $_REQUEST or $_SERVER, you should replace them with Laravel’s request helper. Request(‘some param’) can be substituted for $_REQUEST[‘some param’], $_GET[‘some param’], and $_POST[‘some param’], and references to $_SERVER[‘some prop’] can be substituted with request()->server(‘some prop’).
Step 5: CSRF Tokens
By configuration, Laravel uses the VerifyCsrfToken middleware in the web route group specified in (app/Http/Kernel.php) to authenticate all form submissions with CSRF token authentication. To benefit from the added security that CSRF tokens allow, you must include a CSRF token in each of our form submissions/POST requests. This is done using the Csrf field() helper method, which creates a hidden input.
If the legacy app has a lot of forms, we might want to temporarily deactivate the VerifyCsrfToken middleware on the legacy routes while we change the forms to include the token. Rather than commenting out the VerifyCsrfToken middleware (which would also disable it for any new routes), we can construct a new legacy route group that utilizes the same middleware as the original route group but this time, without VerifyCsrfToken.
If you want to build a legacy route group that does not include the CSRF middleware, you need to first specify the route group as follows in app/Http/Kernel.php:
‘legacy’ => [
\App\Http\Middleware\EncryptCookies::class,
\Illuminate\Cookie\Middleware\AddQueuedCookiesToResponse::class,
\Illuminate\Session\Middleware\StartSession::class,
// \Illuminate\Session\Middleware\AuthenticateSession::class,
\Illuminate\View\Middleware\ShareErrorsFromSession::class,
\Illuminate\Routing\Middleware\SubstituteBindings::class,
],
Then proceed to move your legacy route to route/legacy.php
use App\Http\Controllers\LegacyController;Route::any(‘{path}’, LegacyController::class)->where(‘path’, ‘.*’);Lastly, you need to register the legacy route file by editing
app/Providers/RouteServiceProvider.php as follows:// Add the following to the end of the boot() method
Route::middleware(‘legacy’)
->namespace($this->namespace)
->group(base_path(‘routes/legacy.php’));
After doing this, your legacy forms will continue to function normally even without Laravel’s CSRF protection. At the same time, new form submission routes can be configured in routes/web.php as usual and benefit from the security provided by CSRF tokens.
Step 6: Refactoring the Shim Code
You may focus your efforts on adding enough code to your Eloquent model to remove the necessity for the shim once you’re prepared to move on to the refactoring phase. Flowing from the earlier example, we now have this function in our shim class:
public static function getFutureItems()
{
// database query
}
It might have any amount of logic, but let’s pretend it only has a raw SQL query that retrieves the database’s future items. You’ll want to build a future query scope in your item Eloquent model to match Laravel’s norms so that you can change the content of the getFutureItems method to:
public static function getFutureItems()
{
return Item::future()->get();
}
You can remove the getFutureItems shim function once all calls to getFutureItems have been substituted with the Eloquent query. You can then repeat this procedure until the shim class includes no methods, at which point you can remove it.
Step 7: Stopping Execution Early
Legacy Calls to die or exit in PHP applications frequently stop execution in its tracks. This will break addons like Laravel Telescope and restrict LegacyController from returning a response, interfering with Laravel’s request/response cycle. The app may continue to function normally; however, an attempt to build PHPUnit tests for this code will fail since the PHP process will terminate prematurely, resulting in none of your assertions running and the test suite coming to a halt.
Remove these death and exit calls and throw/catch an exception instead. This will preserve existing functionality while allowing PHP to keep operating. Also, construct a new file under app/Exceptions/LegacyExitScript.php with the following code to generate an exception that you can catch steadily:
namespace App\Exceptions;use Exception;
class LegacyExitScript extends Exception
{
}
Then, to catch these exceptions and complete the request (don’t forget to import the LegacyExitScript exception! ), you’ll need to upgrade your LegacyController@ invoke method:
{
try {
ob_start();
require public_path() . ‘/legacy.php’;
$output = ob_get_clean();
} catch (LegacyExitScript $e) {
$output = ob_get_clean();
}return new Response($output);
}
You can then replace calls to die and exit with the following:
throw new LegacyExitScript;
Step 8: Laravel Views
Of course, you want to ensure that the app you are working on continues to satisfy users’ needs while transitioning to a Laravel application. Still, you’re also keen to retain Laravel’s features. Besides, the business requirements may mandate you to create a new page from an existing code path, or you may need to edit an existing page, in which case employing a Laravel view would greatly simplify the work. It may be excessively time-intensive to migrate a whole route or code path to a Laravel controller, but you can use this shortcut. Simply take advantage of the structure you have created for the LegacyExitScript exception by throwing a view.
To add a bit of context, we will create a new file app/Exceptions/LegacyView.php:
use Illuminate\View\View;class LegacyView extends Exception
{
protected $view;public function __construct(View $view)
{
$this->view = $view;
}public function getView()
{
return $this->view;
}
}
For you to return the view as an answer, we’ll need to capture this exception in LegacyController@ invoke:
{
try {
ob_start();
require public_path() . ‘/legacy.php’;
$output = ob_get_clean();
} catch (LegacyExitScript $e) {
$output = ob_get_clean();
} catch (LegacyView $e) {
return $e->getView();
}return new Response($output);
}
You could include the LegacyView exception inline everywhere you wish to use the view, or you can consider creating a global helper method to make the calls a little less wordy:
{
throw new App\Http\LegacyView(
view($view, $data, $mergeData)
);
}
Step 9: Generating Database Migrations
Notwithstanding whether the legacy app’s database was built through migrations, you still would want to use Laravel subsequently. Therefore, you will need to produce migration files from the existing database schema to run php artisan migration in a new development environment or on an empty database. You will need to use the oscarafdev/migrations-generator package to accomplish this.
Step 10: Helper Method
Usually, when transmitting fragments of legacy code to Laravel classes, you would encounter legacy code referencing. This helper method was previously included but is now undefined when called from the new location. Therefore you have to ensure that both new codes developed (or ported to) Laravel and the old legacy project have access to all helper methods. To accomplish this, you can have a legacy helper file autoloaded globally, making its functions available to the entire project.
To add a bit of context, let’s create a new helper file in app/helpers/legacy.php, then autoload it in composer.json’s “files” key, shall we?
“files”: [
“app/helpers/legacy.php”
]
Any method defined in app/helpers/legacy.php will be made available globally once we run composer dump-autoload in the terminal. Now that we have a convenient home for these methods, we can simply relocate the referred method from its legacy location into app/helpers/legacy.php whenever a helper is called from code written in Laravel.
Step 11: Legacy Path Helper
You can begin including a new helper method for popular bits of code in the legacy app since you now have a decent place to put legacy-related helper methods. Legacy apps, for instance, frequently need statements to import other files. The paths given should typically be relative paths that will continue to work, but full paths are occasionally used. In circumstances like this, You may have to refer to the legacy app subdirectory using the new path. By implementing a legacy path helper method to the new app/helpers/legacy.php file, you will be able to make things slightly easier for yourself.
{
return base_path(‘legacy/’ . $path);
}
Step 12: Search and Replace
If you can test the app successfully (either manually or automatically), the simplest way to convert sessions is to do several searches and replace calls across the program. The screenshot below shows how to convert setting session values from a native PHP session to a Laravel session using regex.
// replace: session([$1 => $2]);// before
$_SESSION[‘foo’] = ‘bar’;// after
session([‘foo’ => ‘bar’]);
The Bottom Line
The basic steps and techniques outlined in this article will enable you to rewrite legacy code in small increments and continue to release it because this type of refactoring allows you to pause and resume refactoring effortlessly. Refactoring is generally seen as a lengthy process that can take months. It’s usually done in one big change and release. Due to ongoing refactoring, you as developers must advise your clients that feature requests in that module will not be implemented since it makes it difficult for you to set aside sufficient time for refactoring.
Read Also:
How to Make a Site Like Pinterest That Exceeds Users’ Expectations
Tips To Build a Freelancer Marketplace Like Upwork
The Best Language to Build ECommerce Website
Cross-Platform Mobile Development: Advantages and Disadvantages [A Complete Guide]


No comments yet.
Give us your impression about this article.